User Manual for Printer Applications
This document is a user manual, containing information about installing drivers provided as Printer/Scanner Applications, installing the CUPS Snap, configuring and using web interface options, and finally use the printer or scanner to print and scan respectively.
Introduction
The user is relieved from most of the complexities arising from classic CUPS printer drivers, like needing packages for their particular distro (or at least compatible with it). With new format for printer drivers they just need to install the driver provided as a Printer/Scanner Application (based on the manufacturer and model) and use the same to get their devices working.
Further, many manufacturer’s devices have options that cannot be translated into IPP attributes. So the users can change their printer/scanner properties through the Web GUI provided with the Printer/Scanner Application.
Before we start
If you have a modern, driverless IPP printer or scanner (AirPrint, Mopria, IPP Everywhere, Wi-Fi Direct Print), you do not need any Printer/Scanner Application.
The Printer/Scanner Application you need to use depends on your printer’s manufacturer, model and which classic driver supports it. We at OpenPrinting have developed Printer Applications covering printer drivers which are available in Debian/Ubuntu to provide retro-fitting (to keep the old devices working, but without adding new features) support for older devices which are currently supported in the distributions, and we provide the Legacy Printer Application for devices, which drivers are no longer supported by the manufacturer or they aren’t in distributions for various reasons (no open-source license, no public source code, nobody packaged it…). The Legacy Printer Application is able to find classic drivers installed on the system and print on the supported printers. The PostScript Printer Application also allows uploading PPD files for printers via its web administration interface.
We at OpenPrinting provide Printer Applications as Snaps, so these manuals contain Snap-related information. However distributions might provide Printer Applications packaged under classic packaging systems like DEB or RPM, or by another container solution, f.e. Podman or OCI containers. The exception is the Legacy Printer Application, which cannot be containerized due to its nature, so it is part of pappl-retrofit and can be shipped only by classic packaging systems.
All the four Printer Applications currently available at OpenPrinting are only for retrofitting purposes and any new drivers should be written as native Printer/Scanner Applications, which can be shipped as a container (Snap, Podman, OCI containers) or via classic packaging systems. The Native Printer Applications can be provided by the printer’s manufacturer or by community developers who have access to the printer.
What printer application do you need?
In case you require a classic driver, there are two ways depending on the source of your driver:
-
For your printer you have used a driver which came with your distribution. Thn one of the Printer Applications at OpenPrinting contains it.
-
For your printer you used a driver which is not in any package in your distribution, a proprietary driver from the printer’s manufacturer for example. Install the Legacy Printer Application and it will see your classically installed driver and will use it.
Installation
For installing Printer/Scanner Applications, you should have snap installed on your system. On many systems snap is already installed (for example Ubuntu), if not you can usually easily install it.
Snap
To install snap from the Software Manager application, search for snapd and click Install.
Alternatively, snapd can be installed from the command line:
sudo apt install snapd
Applications
Once snap is installed, you can easily install any driver. Find the name of the application compatible with your device. This information will be provided by your device manufacturer. You can install the application browsing the Snap Store or from the command line:
snap install <application-name>
Note: Driver auto-installation i.e. when a printer on the system is discovered, the driver can be found on the Snap Store and even can be automatically installed using the hardware signature, is under development. We will update this work on our website as soon as this is completed. Until then you have to install drivers manually.
Many interfaces are automatically connected when a snap is installed, and this ability is a property of either the interface itself or the snap. Interfaces not connected automatically require the user to make a manual connection using the snap connect command.
snap connect <snap>:<plug interface> <snap>:<slot interface>
Information regarding which interfaces require manual connection will be mentioned by the manufacturer.
Web Interface
The embedded server can also provide a web interface to the Printer/Scanner Application, and PAPPL includes a standard web interface that can be customized and/or overridden. Aside from the usual status monitoring functionality, the web interface can be configured to allow remote users (with proper authentication) to:
-
Create and delete printers
-
Set the printer location and DNS-SD name
-
Configure the loaded media
-
Configure remote access accounts
-
Configure networking settings such as the hostname
-
Update the TLS certificates used by the server
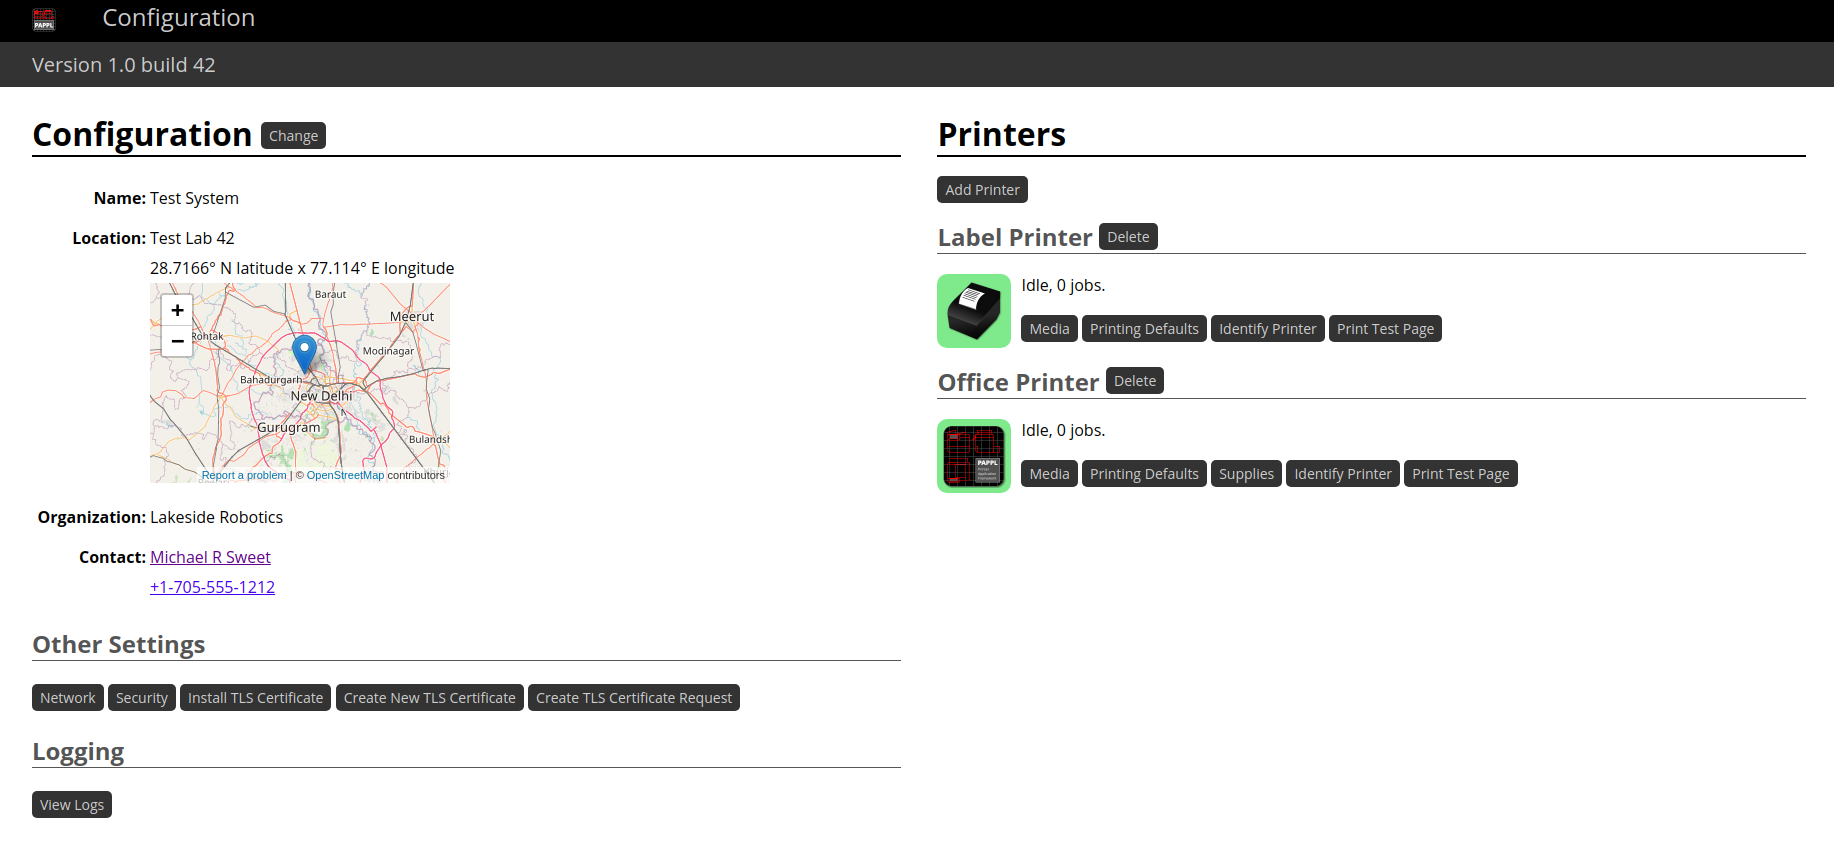
Create and Delete Printers
-
Create printers
Resource path: /addprinter
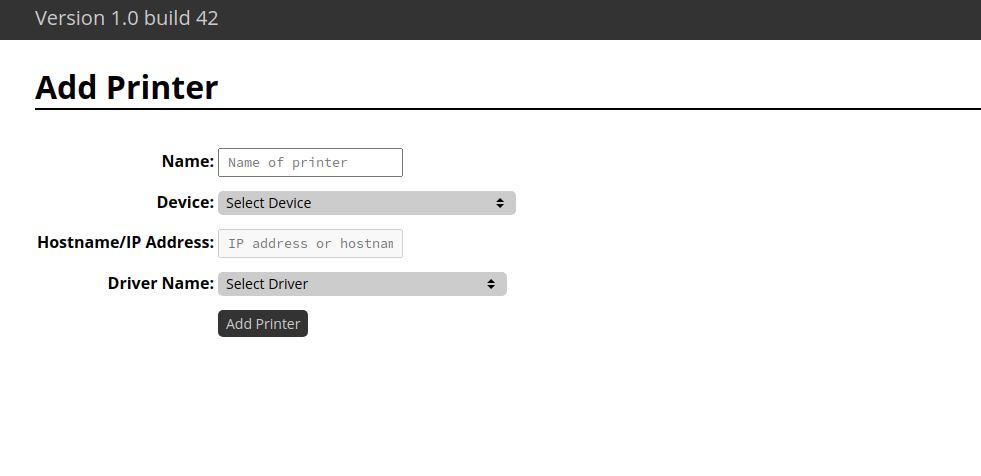
The addition of a printer requires only the following attributes:
- Name of the printer
- Device can be one of the following:
- Label Printer
- Office Printer
- Network Printer
The choices here vary with the Printer Application and the available printer devices. Usually, here you will see printers which were discovered on your system, both local (USB and also manufacturer-specific or legacy connection types) and network printers. ideally only the ones supported by this Printer Application. Sometimes also manual options, like “Network Printer” with the possibility to enter a hostname/IP in the next field, are available, too.
- Hostname/IP Address of the printer required only in the case of a Network Printer.
- Driver Name needs to be selected from the available list of drivers provided by the manufacturer.
-
Delete printers
Resource path: /<printer_name>/delete
This option can be exercised by pressing the delete button on the right side of the name of the printer, followed by pressing the button of confirmation.
View Logs
Resource path: /logs
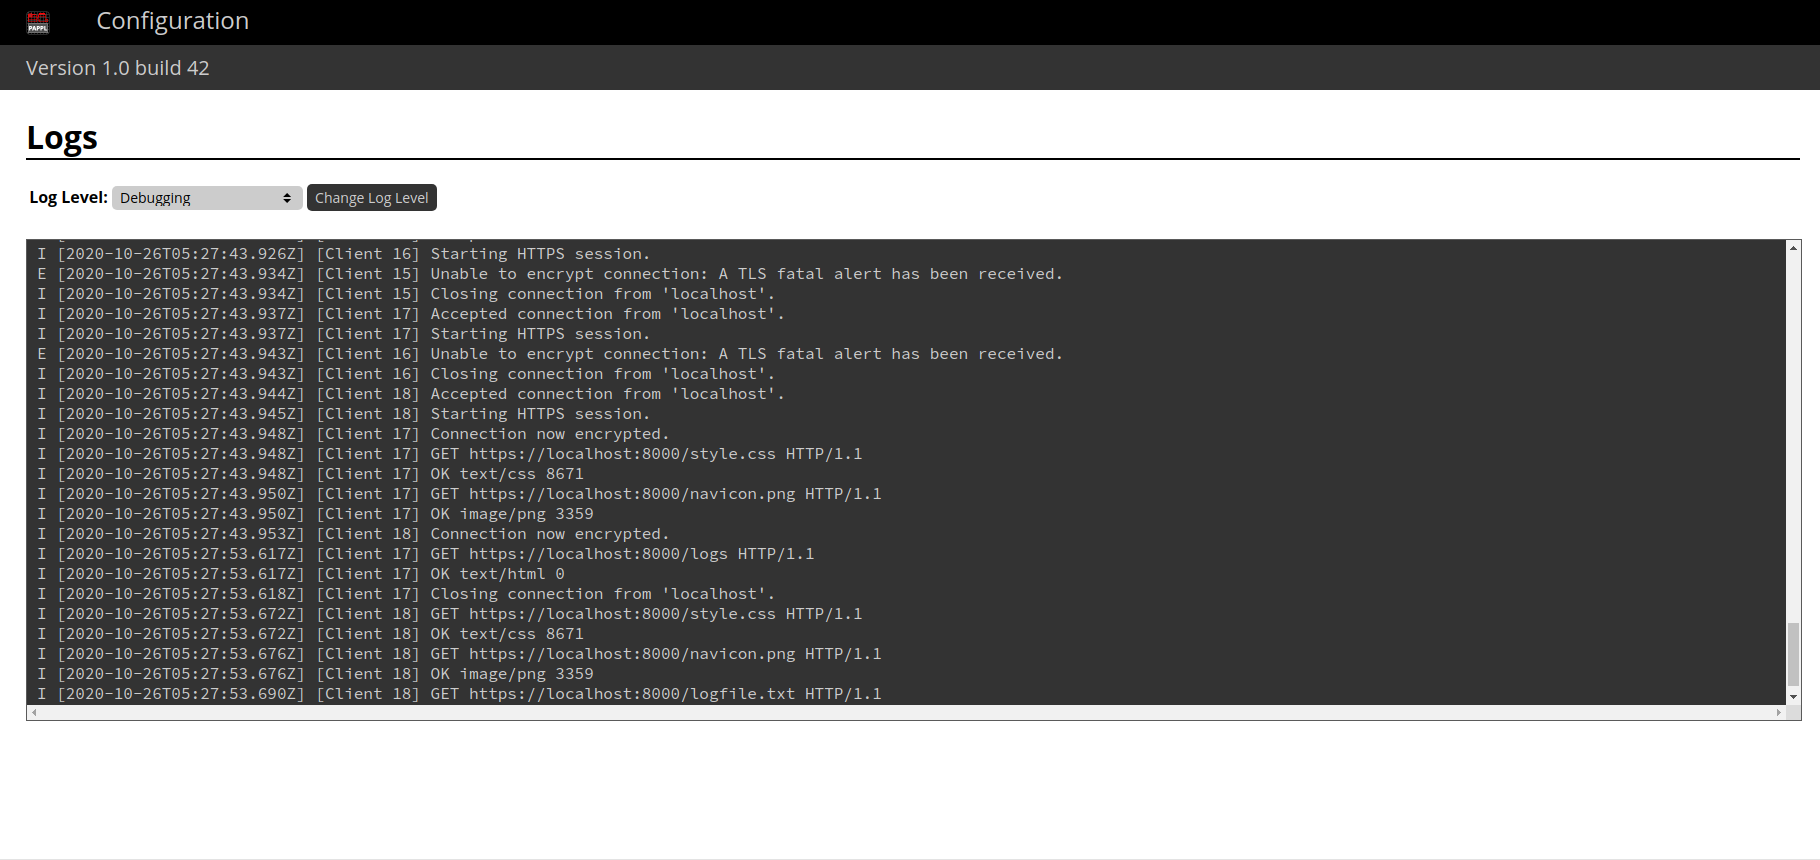
The complete system logs can be viewed here. If you prefer to read the text file instead, use the resource path: /logfile.txt.
Update the TLS certificates
Following are the options that can be used to update the Transport Layer Security (TLS) certificates used by the server:
-
Create New TLS Certificate
Resource path: /tls-new-crt
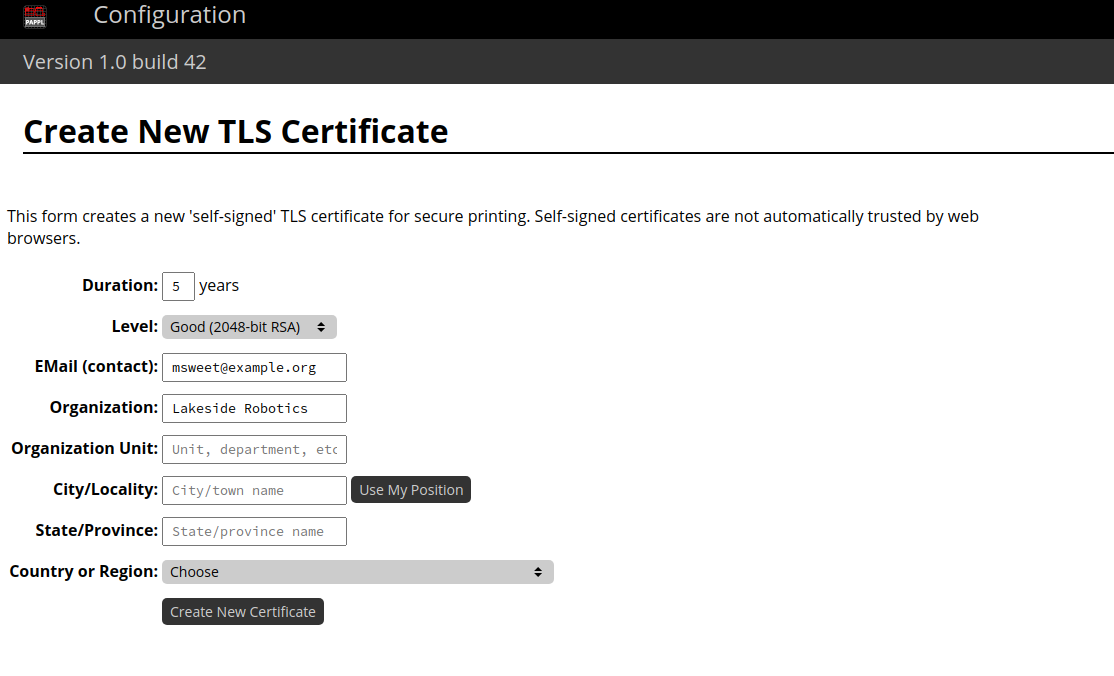
This form creates a new ‘self-signed’ TLS certificate for secure printing. Self-signed certificates are not automatically trusted by web browsers.
-
Create TLS Certificate Request
Resource path: /tls-new-csr
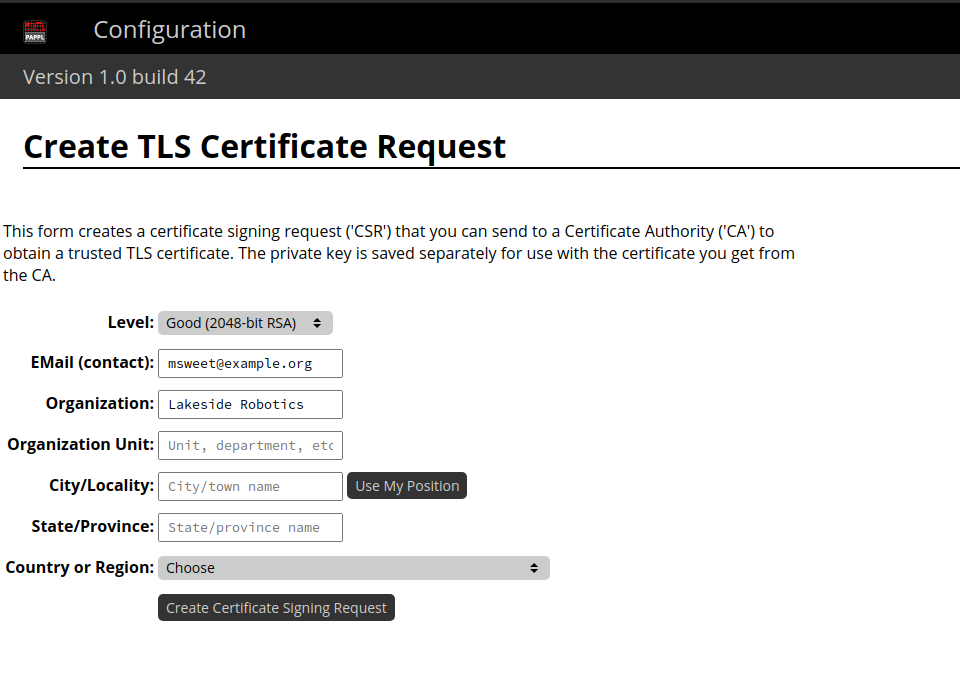
This form creates a certificate signing request (‘CSR’) that you can send to a Certificate Authority (‘CA’) to obtain a trusted TLS certificate. The private key is saved separately for use with the certificate you get from the CA.
-
Install TLS Certificate
Resource path: /tls-install-crt
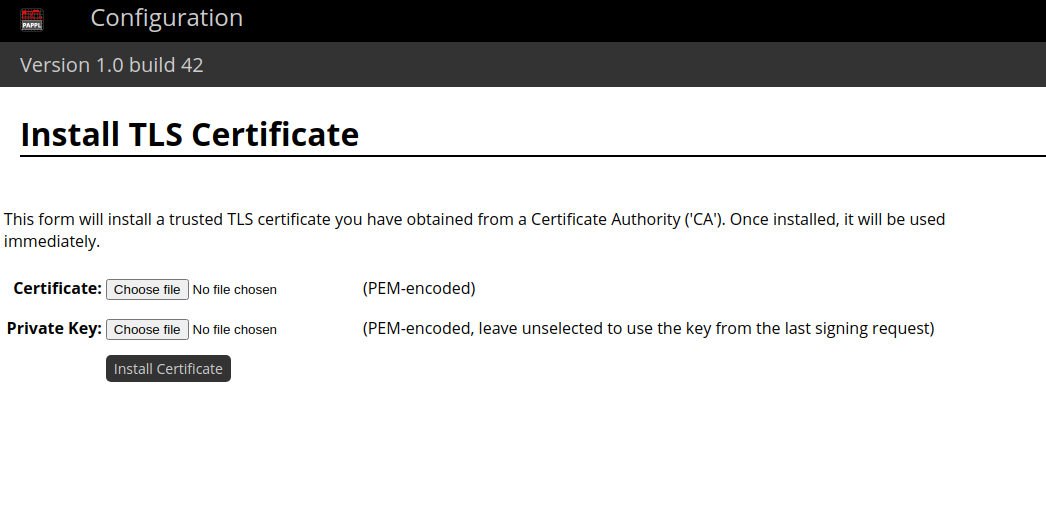
This form will install a trusted TLS certificate you have obtained from a Certificate Authority (‘CA’). Once installed, it will be used immediately.
Configure Printing Defaults
-
Printing
Resource path: /<printer_name>/printing
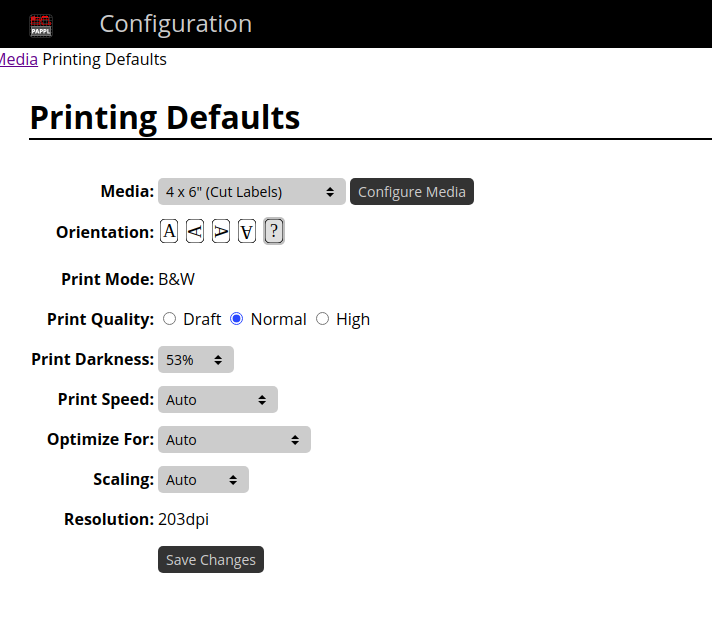
Many manufacturer’s devices have options that cannot be translated into IPP attributes. So the web interface provides the possibility to set up these options.
The printing defaults are automatically fetched for each job and the user is not required to pass them each time using the command-line.
-
Media
Resource path: /<printer_name>/media
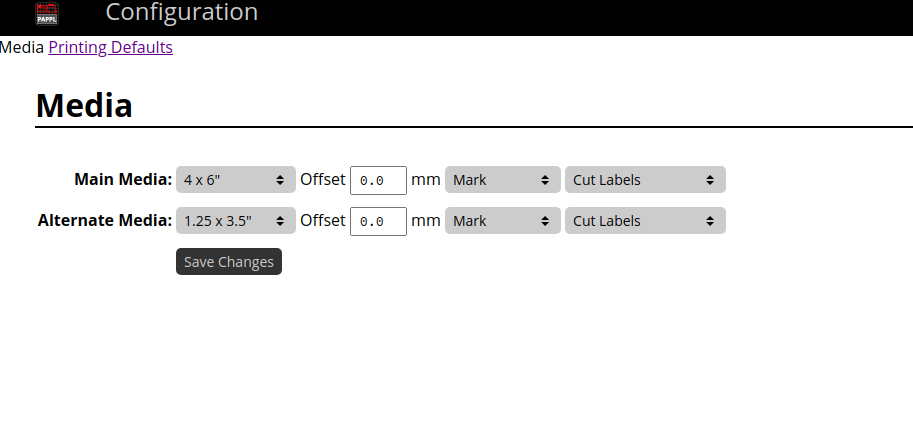
You can use this segment to configure the loaded media including the size, offset, and rolls.
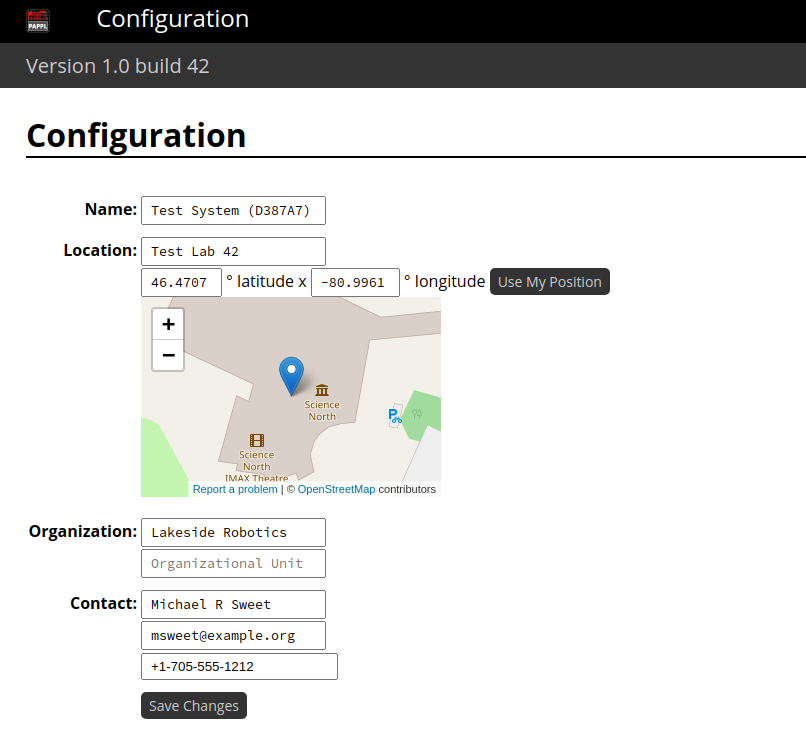
Set Location and DNS-SD name
Resource path: /config
Configure Networking Settings
-
Networking
Resource path: /network
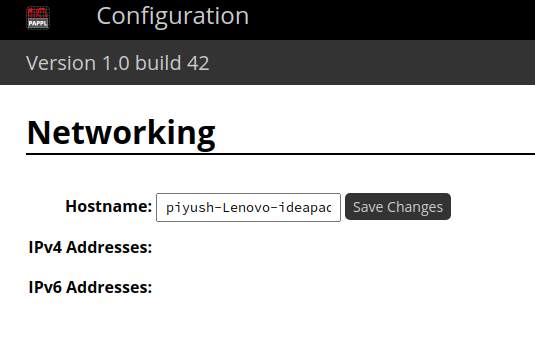
The option can be used to configure networking settings such as the hostname and also to see the list of interfaces/addresses.
-
Security
Resource path: /security
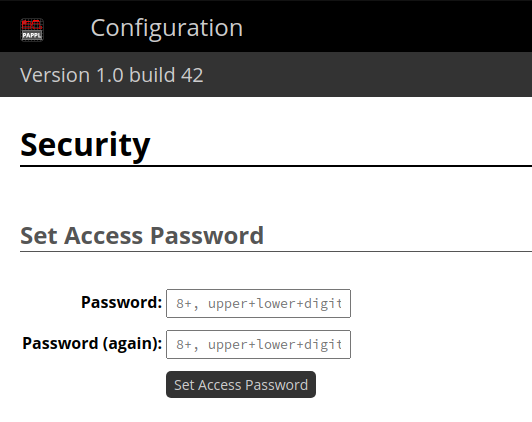
You may use this option for setting the access password.
Printer Specific Utilities
Apart from configuring printing defaults for the printer, these are the other printer-specific utilities.
-
Supplies (Only available for Office Printers)
Resource path: /<printer_name>/supplies
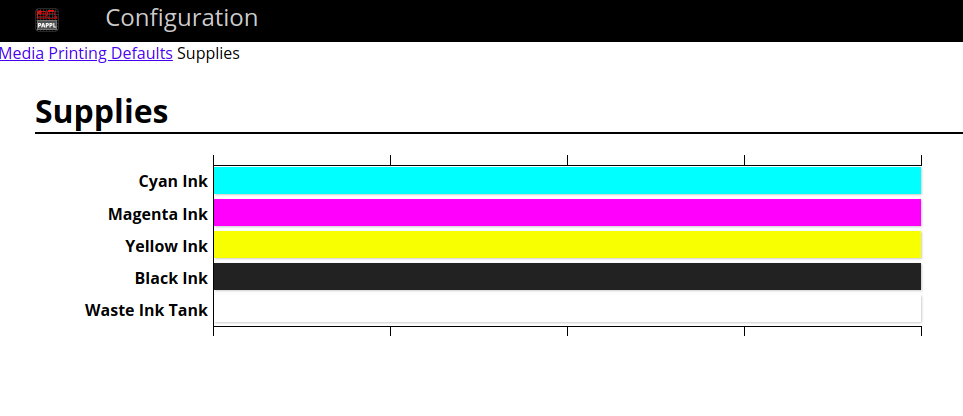
This utility helps the user to know the remaining supplies of different inks in the cartridge(s) of the printer.
-
Identify Printers
This option supports printer identification, usually a sound or a light on the printer, which is a requirement for IPP Everywhere™ and is used to visually or audibly isolate a particular printer for the user.
-
Print Test Page
This option helps in testing printer functionality, by issuing a print command for a sample test page.
Working with Command-Line
Before start working with your device, you must know about the capabilities of your printer/scanner by viewing the set of sub-commands and options supported by your printer/scanner. For retrieving this information, you need to pass the --help argument:
<application-name> --help
The default list of sub-commands and options available with all applications is shown below.
Usage: <application-name> SUB-COMMAND [OPTIONS] [FILENAME]
    <application-name> [OPTIONS] [FILENAME]
    <application-name> [OPTIONS] -

Sub-commands:
add PRINTER      Add a printer.
cancel           Cancel one or more jobs.
default          Set the default printer.
delete           Delete a printer.
devices          List devices.
drivers          List drivers.
jobs             List jobs.
modify           Modify a printer.
options          List printer options.
printers         List printers.
server           Run a server.
shutdown         Shutdown a running server.
status           Show server/printer/job status.
submit           Submit a file for printing.

Options:
-a               Cancel all jobs (cancel).
-d PRINTER       Specify printer.
-j JOB-ID        Specify job ID (cancel).
-m DRIVER-NAME   Specify driver (add/modify).
-n COPIES        Specify number of copies (submit).
-o NAME=VALUE    Specify option (add,modify,server,submit).
-u URI           Specify ipp: or ipps: printer/server.
-v DEVICE-URI    Specify socket: or usb: device (add/modify).
Note: Printer Application can have additional sub-commands. You can get the information about them using the --help argument.
Server Daemon
-
Start Server
Before adding devices and submitting jobs, you must start the application as a server daemon:<application-name> server [-o <NAME>=<VALUE>]The list of options you could use are:
Option Significance spool-directory Spool directory log-file Log File server-hostname Hostname log-level Log Level server-port Port admin-group Administrative Group -
Close Server
You can close the daemon using the following command:<application-name> shutdown
Devices
-
Adding Device
Add a printer queue. The following fields are required to be mentioned for creating a printer queue:
- Device name
- Device URI
- Driver Name
-
Default Options (Optional)
<application-name> add -d <DEVICE_NAME> -m <DRIVER-NAME> -v <DEVICE-URI> [-o <NAME>=<VALUE>]
You can obtain the possible list of
<DRIVER-NAME>values via the call with thedriverssub-command:<application-name> driversYou can also obtain the possible list of
<DEVICE-URI>values via the call with thedevicessub-command:<application-name> devices -
Setting Default Device
Get/Set the default the printer queue. The default device is used when the device is not inputted along with the job.
-
Get the Default Device
<application-name> default -
Set the Default Device
<application-name> default -d <DEVICE_NAME>
-
-
Modifying Printer
Modify a printer queue by changing the following fields:
- Device URI
- Driver Name
-
Default Options
<application-name> modify -d <DEVICE_NAME> [-m <DRIVER-NAME>] [-v <DEVICE-URI>] [-o <NAME> = <VALUE>]
-
Deleting Device
Delete a printer queue.
<application-name> delete -d <DEVICE_NAME>
Handling Jobs
-
Submit Jobs
Submit a file for printing.
<application-name> submit <FILE> [-n <COPIES>] [-o <NAME> = <VALUE>] -
Cancel Jobs
-
All jobs
<application-name> cancel -a -
Specific Job
<application-name> cancel -j <JOB-ID>
-
Other Utilities
-
List devices
List the connected printers.
<application-name> devices -
List drivers
List the supported drivers.
<application-name> drivers -
List jobs
List pending print jobs.
<application-name> jobs -
List printer options
List the supported options.
<application-name> options -
List printers
List the printer queues.
<application-name> printers -
Status
Show server/printer/job status.
<application-name> status
Resources
[1] Printer Application
[2] Snap Documentation
[3] PS Printer App README
[4] HP Printer App Man Page
[5] PAPPL Documentation
Comments